


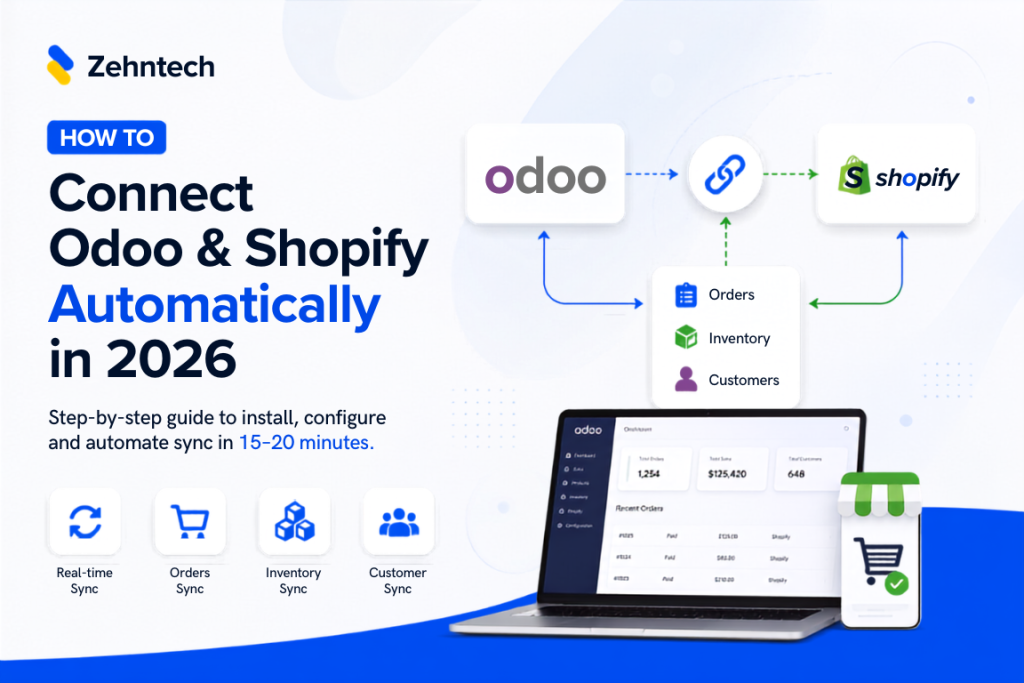

If you’re running Shopify for your storefront and Odoo for everything behind it — inventory, accounting, fulfillment — you already know the two don’t talk to each other out of the box. This guide walks through exactly how to connect them so orders, stock, and customer data sync automatically, with no manual export/import step.
For a breakdown of which connector option makes sense for your situation (pre-built vs. custom vs. manual), see our comparison of Shopify-Odoo connector options in 2026. This guide assumes you’ve already decided to install the Zehntech Odoo Shopify Connector and walks through the actual setup.
What You Need Before You Start
- An active Odoo instance (v17, v18, or v19 — Odoo.sh, or on-premise all supported)
- A Shopify store with admin access
- Server access to run one command:
pip install ShopifyAPI - About 15–20 minutes for first-time setup (most customers are fully operational within one day, including data migration)
Step 1 — Install the Connector
- From your Odoo instance, go to the Apps menu and search for “Shopify Connector,” or install directly from the Odoo App Store listing.
- On your server, run:
pip install ShopifyAPI
This installs the Python dependency the connector uses to communicate with Shopify’s API. - Once installed, a new Shopify menu appears in your Odoo instance.
Step 2 — Connect and Authenticate
- In Odoo, go to Shopify → Configuration → Settings.
- Enter your Shopify store URL (e.g.,
yourstore.myshopify.com). - Generate an API access token from your Shopify Admin: Settings → Apps and sales channels → Develop apps → Create an app → give it API access to Products, Orders, Inventory, and Customers.
- Paste that token into Odoo’s connector settings and click Test Connection. A green confirmation means Odoo and Shopify are now talking to each other securely via API — no data has synced yet, this step only confirms the connection works.
Step 3 — Con figure What Syncs Automatically
This is the step that actually makes the connection “automatic” rather than something you have to trigger manually each time:
- Under Shopify → Configuration → Sync Settings, enable:
- Product sync (two-way — changes in either system reflect in both)
- Order import (new Shopify orders automatically create matching Odoo sales orders)
- Inventory sync (stock levels update in real time in both directions, preventing overselling when the same product is tracked in both systems)
- Customer sync (new Shopify customers automatically become Odoo contacts)
- Set your sync frequency — real-time (webhook-based) is recommended over scheduled polling, since it means an order placed on Shopify appears in Odoo within seconds, not on the next scheduled run.
- If you run multiple Shopify stores, repeat the connection step for each store — the connector supports unlimited multi-store connections from a single Odoo instance.
Step 4 — Verify Your First Live Sync
- Place a small test order on your Shopify storefront (or use Shopify’s test/draft order feature).
- Check Odoo’s Sales app — the order should appear within seconds if webhook sync is enabled.
- Confirm the inventory count decremented correctly in Odoo’s Inventory app.
- If the order doesn’t appear, check Shopify → Logs in Odoo for the specific error — the most common first-setup issue is an incorrectly scoped API token (missing Orders or Inventory read/write permission).
Troubleshooting Common Setup Issues
- “Connection failed” on Test Connection: Double-check the store URL format (no
https://, no trailing slash) and confirm the API token hasn’t expired. - Orders import but inventory doesn’t sync: Confirm the Inventory sync toggle is enabled separately from Order import — these are independent settings.
- Duplicate customer records: Enable “Match by email” in Customer sync settings to avoid creating duplicate contacts when the same customer orders from multiple stores.
What to Do After Your First Sync
Once the connection is verified, you don’t need to do anything further — this is the point where the “automatic” part takes over. New orders, stock changes, and customer records will keep syncing without manual intervention. Most teams check back in after their first week to confirm sync accuracy, then rarely touch the settings again.
If you’re still deciding whether a pre-built connector, custom development, or staying manual makes sense for your order volume, our full comparison guide breaks down the cost and trade-offs of each option — including real pricing.
Not sure your setup is configured optimally? Book a free 20-minute Shopify-Odoo Integration Audit and we’ll review your current sync settings at no cost.