


Automate Marketing Initiatives with Salesforce Marketing Cloud Learn More

Magento Salesforce Integration- 7 Steps to Improve Customer Experience

With Magento powering more than 12% of the online stores over the web, going for over 5000 downloads per day, the e-commerce business is in trend and most e-commerce vendors prefer to be over this powerful Magento platform for scaling their business. The platform is best for creating customized e-commerce websites and leads to personalized experiences for the customers thus imparting high levels of customer satisfaction. This combined with a good CRM system such as Salesforce adds up to the capabilities of the organizational systems and contributes to enhanced efficiencies and profitability. Businesses have seen at least a 35% growth in the level of customer satisfaction with the use of Salesforce for managing their customer data and information and also a 25% revenue growth.

All these statistics and numbers make businesses highly keen on going for a Magento Salesforce Integration. If you too are keen on the same and wondering how to carry it in the best and easiest way possible, then you have landed on to the right article. This article will walk you through a simple four step process for integrating your Magento 2 e-commerce store with Salesforce CRM.

How to Integrate Magento 2 with Salesforce?

Step 1: Get Zapier

Zapier is known to all. This automation tool makes integration of applications and systems a breeze. So, when you are considering a Magento Salesforce Integration, the best is for you to start with getting the latest version of Zapier.
Download the tool, create an account, and log in to the same.
You can find the tool easily and readily available over the web.

Step 2: Sign In to Salesforce


Since you have to integrate your Magento platform with your Salesforce, it is important that you stay logged in to your Salesforce account. So, before going on with any further integration process, log in to your Salesforce Account and stay signed in.

Step 3: Make a Zap

Once logged in to both Zappier and Salesforce Account, go to your Zapier account. You will find an option “Make a Zap” on the top right space in your dashboard. Select this option in order to initiate the integration process.

Step 4: Choose the Trigger App

The previous step takes you to a setup where you need to choose a Trigger App. Select “Magento 2.x Trigger.” A drop-down list will appear. From this list, choose the triggers that you want with the integration and then select “Save and Continue.”

Step 5: Connect Magento 2 Account

You shall be redirected to a screen which will ask your Magento account details like the domain name, username, and password. Fill in the details and then click ‘Yes, Continue” to allow Zapier to connect with your Magento 2 Account. You shall be redirected to a screen for testing the Magento 2.x store. Click on “Save and Continue.” The store will get tested and you shall be ready to move on to the next step, which can also be called as the next phase of integration.

Step 6: Integrating Salesforce

After the Magento 2.x store is tested, you shall be redirected to “Choose an Action” page from where you can start integrating Magento 2 with Salesforce.
As you will click on “Salesforce” in Choose an Action Page, you will see a “Select Salesforce Action” Page with a dropdown menu containing multiple options.
Select “Create Contact” option.
You will see a “Select Salesforce Account” Page.
Click on “Connect an Account” option. There will be an automated guide, follow the same and setup the template after clicking on “Continue” button.
Finally, test Salesforce and then click on “Finish” button.

A place for big ideas.

Reimagine organizational performance while delivering a delightful experience through optimized operations.

Step 7: Name Your Zap

Once the integration is completed, the accounts are tested, you need to name your Zap and then again click “Finish” button. After that, it will check the Magento 2.x once again for the integration and you shall be all set.

So, this is how you carry out a Magento Salesforce Integration. It is just some clicks and you are done. Once set with it, you can create amazing experiences over your e-commerce store that will lead to enhanced customer satisfaction. So, go for the integration and bring scalability and profitability for your e-commerce business.

Top Stories

How to Connect WooCommerce to Odoo
How to Connect WooCommerce to Odoo — Complete Setup Guide
Connecting WooCommerce to Odoo does not require a developer, a middleware tool, or weeks of implementation. The Zehntech Odoo WooCommerce Connector gives you real-time bi-directional sync between your WooCommerce store and your Odoo backend — set up in under 15 minutes. This guide is for Odoo administrators, eCommerce operations managers,
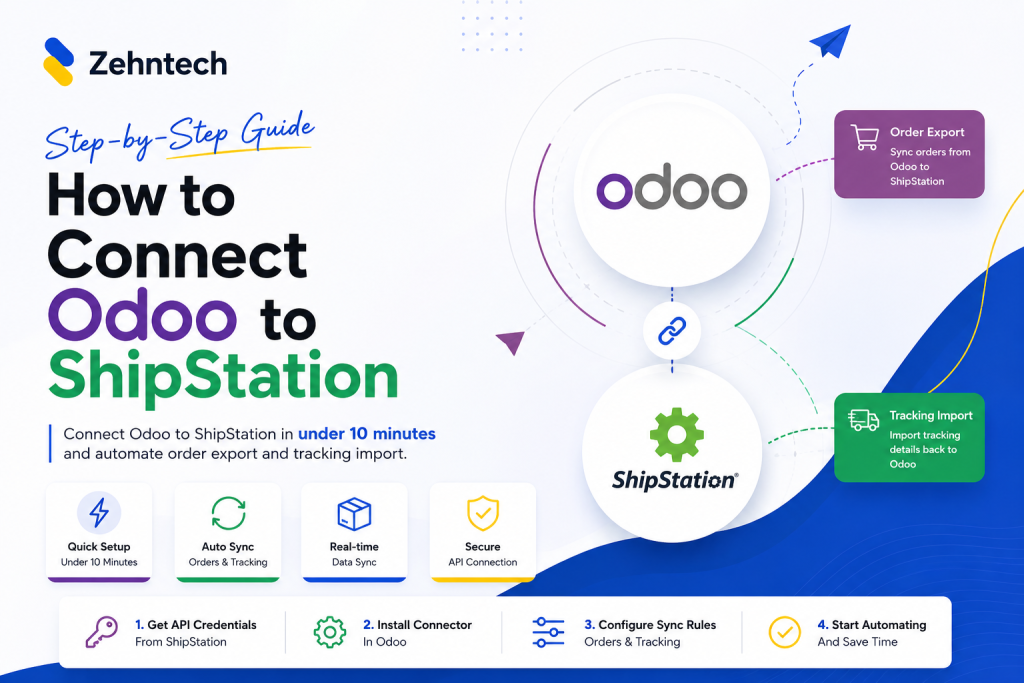
How to Connect Odoo to ShipStation — Step by Step Setup Guide
How to Connect Odoo to ShipStation A Step-by-Step Setup Guide
This guide walks you through connecting Odoo to ShipStation using the Zehntech Odoo ShipStation Connector — from generating your API credentials in ShipStation to your first automated order push and tracking import. Most setups take under 10 minutes. Prerequisites Before you begin: Odoo version: v17, v18 or v19 (Online, Odoo.sh
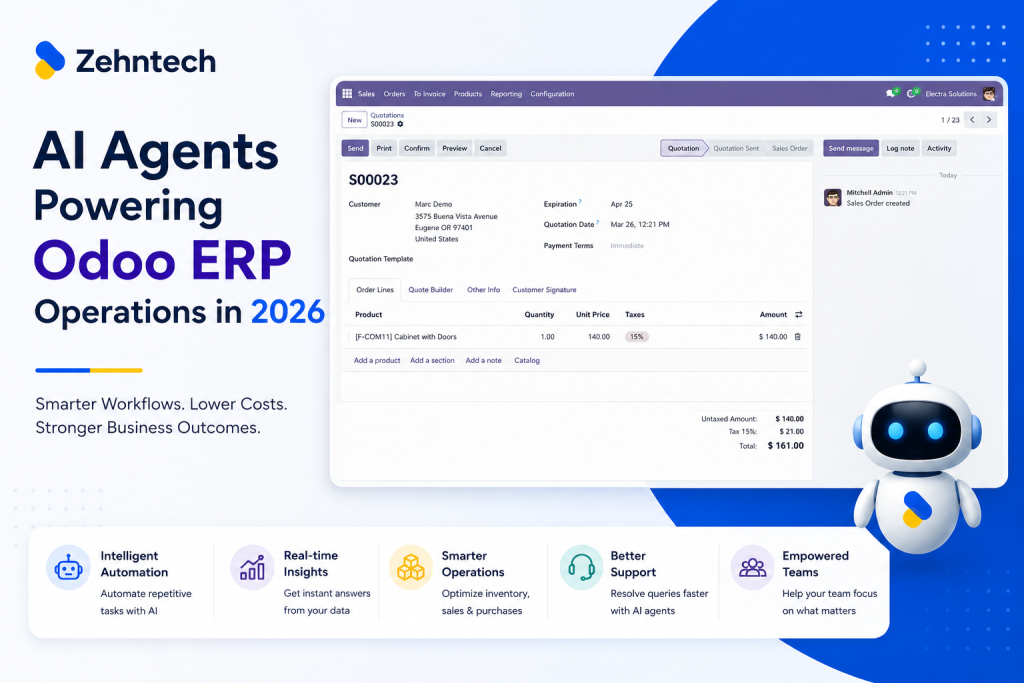
AI Agents Are Transforming Odoo ERP Operations in 2026
How AI Agents Are Transforming Odoo ERP Operations in 2026
Most ERP systems already hold the information needed to make better decisions. The problem is the work between the data and the decision: opening several modules, filtering records, exporting spreadsheets, comparing numbers and then updating Odoo manually. AI agents are beginning to remove that gap. Unlike a chatbot that only
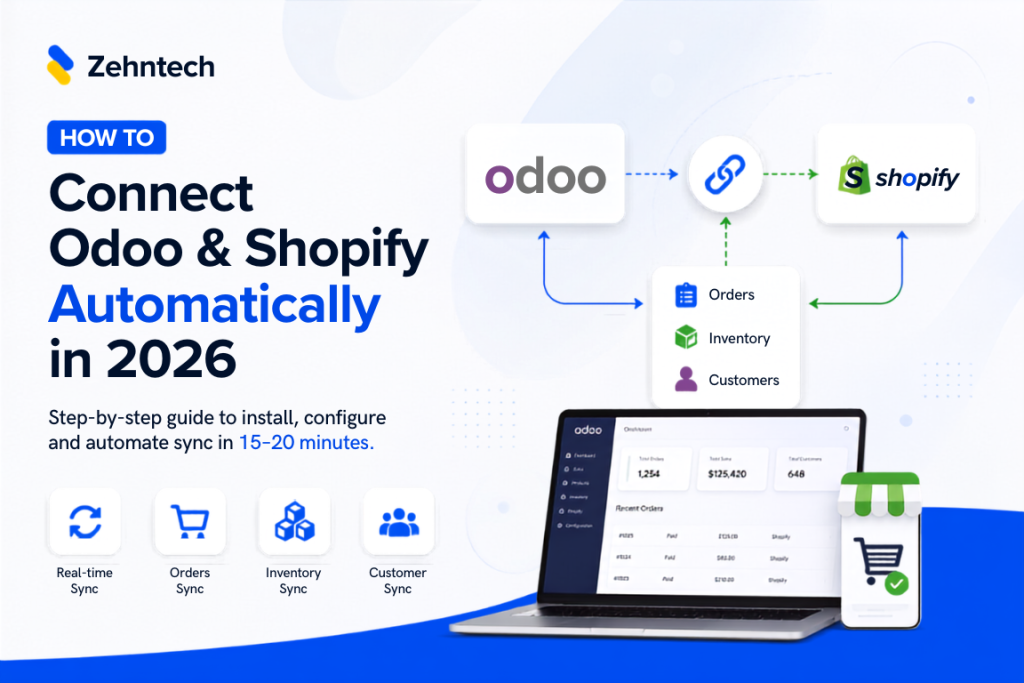
Connect Odoo & Shopify Automatically in 2026
How to Connect Odoo and Shopify Automatically (2026 Guide)
If you're running Shopify for your storefront and Odoo for everything behind it — inventory, accounting, fulfillment — you already know the two don't talk to each other out of the box. This guide walks through exactly how to connect them so orders, stock, and customer data sync automatically, with
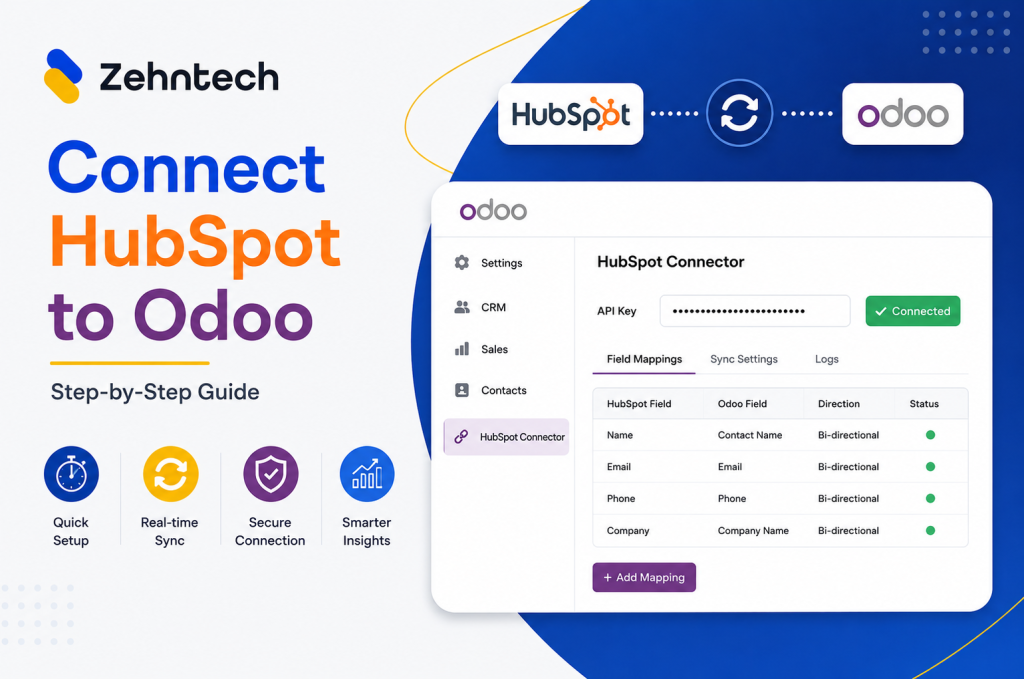
Odoo Hubspot Connector
How to connect hubSpot to odoo a step-by-step setup guide
This guide walks you through connecting HubSpot to Odoo using the Zehntech Odoo HubSpot Connector from generating your API key in HubSpot to your first live sync. Most teams complete this in under 10 minutes. Prerequisites Before you begin: Odoo version: v16, v17, v18 or v19 (Online, Odoo.sh or On-Premise)
Odoo AI: How AI Agents Are Automating Business Operations in 2026
Odoo+AI: How AI Agents Are Automating Business Operations in 2026
Your Odoo system knows everything about your business. It knows which products are below reorder level right now. It knows which purchase orders are overdue. It knows which outlets sold below target yesterday and which customers are approaching their credit limit. Your team does not know any of this until

          Success!!

          Keep an eye on your inbox for the PDF, it's on its way!

          If you don't see it in your inbox, don't forget to give your junk folder a quick peek. Just in case.


              You have successfully subscribed to the newsletter

              There was an error while trying to send your request. Please try again.

              Zehntech will use the information you provide on this form to be in touch with you and to provide updates and marketing.